How I Build Production-ready Web Apps with Claude Code

I just showed my brother how to build a production-ready web app using Claude Code. The whole conversation took about 20 minutes, and it probably could’ve taken 10 if we didn’t catch up first.
All it takes is five simple steps, a framework borrowed from how real tech teams operate, and an AI doing the engineering I never learned how to do. All for less than $50/month.
I’m not technical. I don’t have a CS degree. But I used this exact process to build Flyletter, the AI newsletter writing app that drafts every issue in your unique brand voice. The marketing site, the actual app itself, all production-ready, all built with Claude Code.
Sound good? Because I’m going to walk you through the entire process, step by step, so you can do the same. The only requirement is that you actually build something with it, and then show me what you did.
Let’s get after it.
The Framework: Your AI Tech Team
Before we get into the steps, let’s reframe how you should think about building with AI, because most people approach it the wrong way: They open an AI coding tool, type “build me an app that does X,” and hope for the best. No structure. No process. Just vibes and a prayer to the AI gods.
Yes, I know it’s called “vibe coding,” but if you do it this way, then you’ve got bad vibes my friend.
Real tech teams work differently. They have three distinct roles:
-
Product Manager: Decides what gets built and why.
-
Designer: Determines what it looks like and how users interact with it.
-
Engineer: Writes the code that makes it all work.
When you build with AI, you need to treat each tool like a member of your AI tech team. You decide what you want to build, then use these specific platforms for the design and engineering roles. Think of it like this:
-
Claude: Your Product Manager (vision, decisions, direction)
-
Replit: Your Designer (front-end, UI, how it looks)
-
Claude Code: Your Engineer (back-end, logic, how it works)
Building web apps with AI doesn’t change the traditional process, it just replaces the people in the process (sorry to the people). Once I started thinking about it this way, everything clicked. You’re not “coding,” you’re managing a team.
Build Production-ready Web Apps in 5 Steps
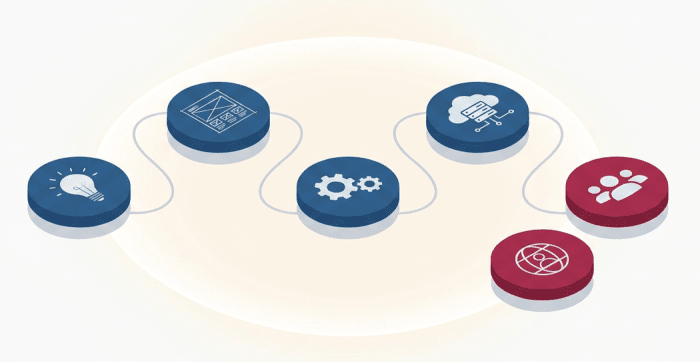
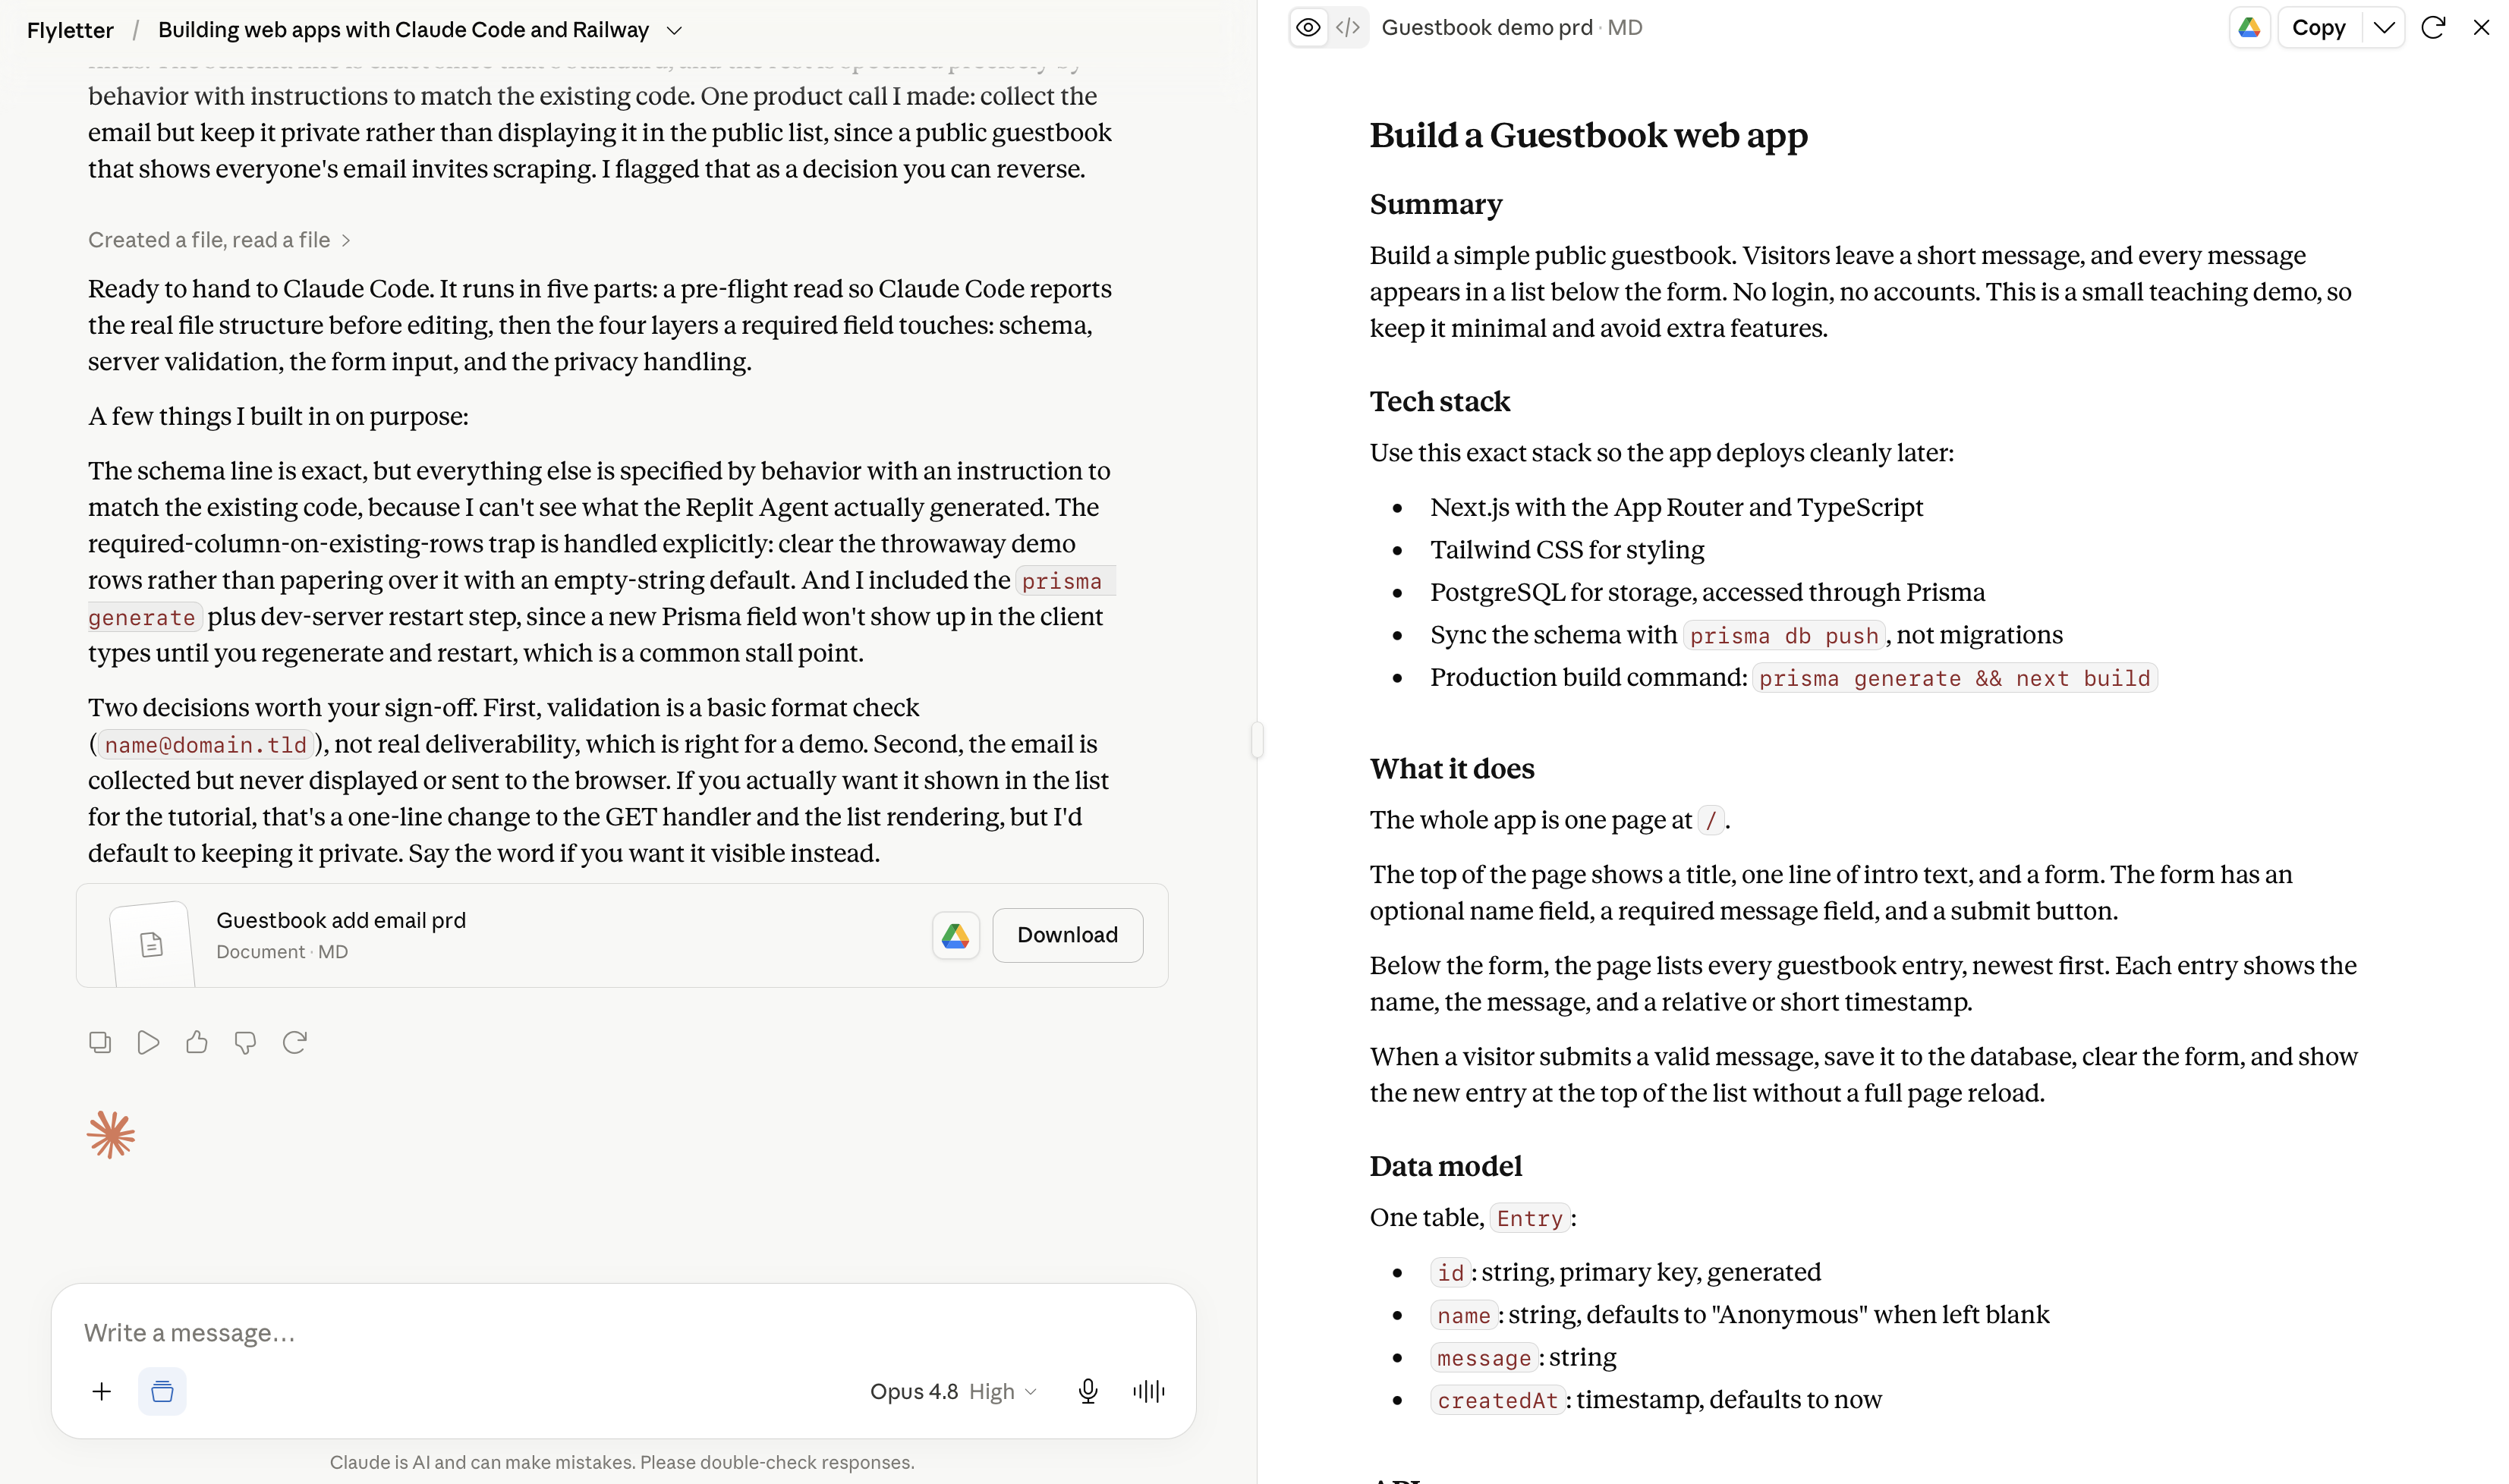
Step 1: Create PRDs With Claude (Your Product Manager)
Every build starts here. Not in Replit. Not in Claude Code. In Claude itself.
A PRD (Product Requirements Document) is a write-up for what you’re building. It defines the what and the why so your designer (Replit) and your engineer (Claude Code) will know exactly what to do.
Product managers on real tech teams write PRDs to align everyone before a single line of code gets written. You’re doing the same thing, just with AI.
Go to Claude and explain your app idea. What does it do? Who is it for? What are the core features? Claude knows what PRDs are and how product managers think. Tell it you need a PRD for your app idea, and it’ll generate a structured document covering the requirements, tech stack, user flows, and more.
A few things to include in your PRD:
-
Framework: Next.js with the App Router and TypeScript
-
Styling: Tailwind CSS
-
Database: Postgres (you’ll set this up on Railway later)
This tech stack gives you the best combination of design flexibility and production-ready functionality.
Once your initial PRD is done, copy it and paste it directly into Replit to kick off Step two (which I’ll explain in a sec). This first PRD is your V1 blueprint, the thing that gets your app designed and off the ground.
But every single update after that follows the same pattern. New feature? Go to Claude first, get a PRD, then feed it to either Replit or Claude Code, depending on which step you’re on. Bug fix? PRD first. Design change? PRD first. Never chat directly with Replit or Claude Code without a prompt from Claude guiding the conversation, or you’ll only get a half-decent output.
Later, once you set up your Github repository in step four, connect it to a Claude Project (Settings → Connectors → Customize → Github), and Claude will have direct access to your codebase when writing PRDs. That means its instructions to Claude Code will be way more specific because it can see the actual file structure, existing code, and database schema.
If you don’t connect Github, make sure your PRD includes a “pre-flight checklist” telling Claude Code to verify the current project structure before making any changes.
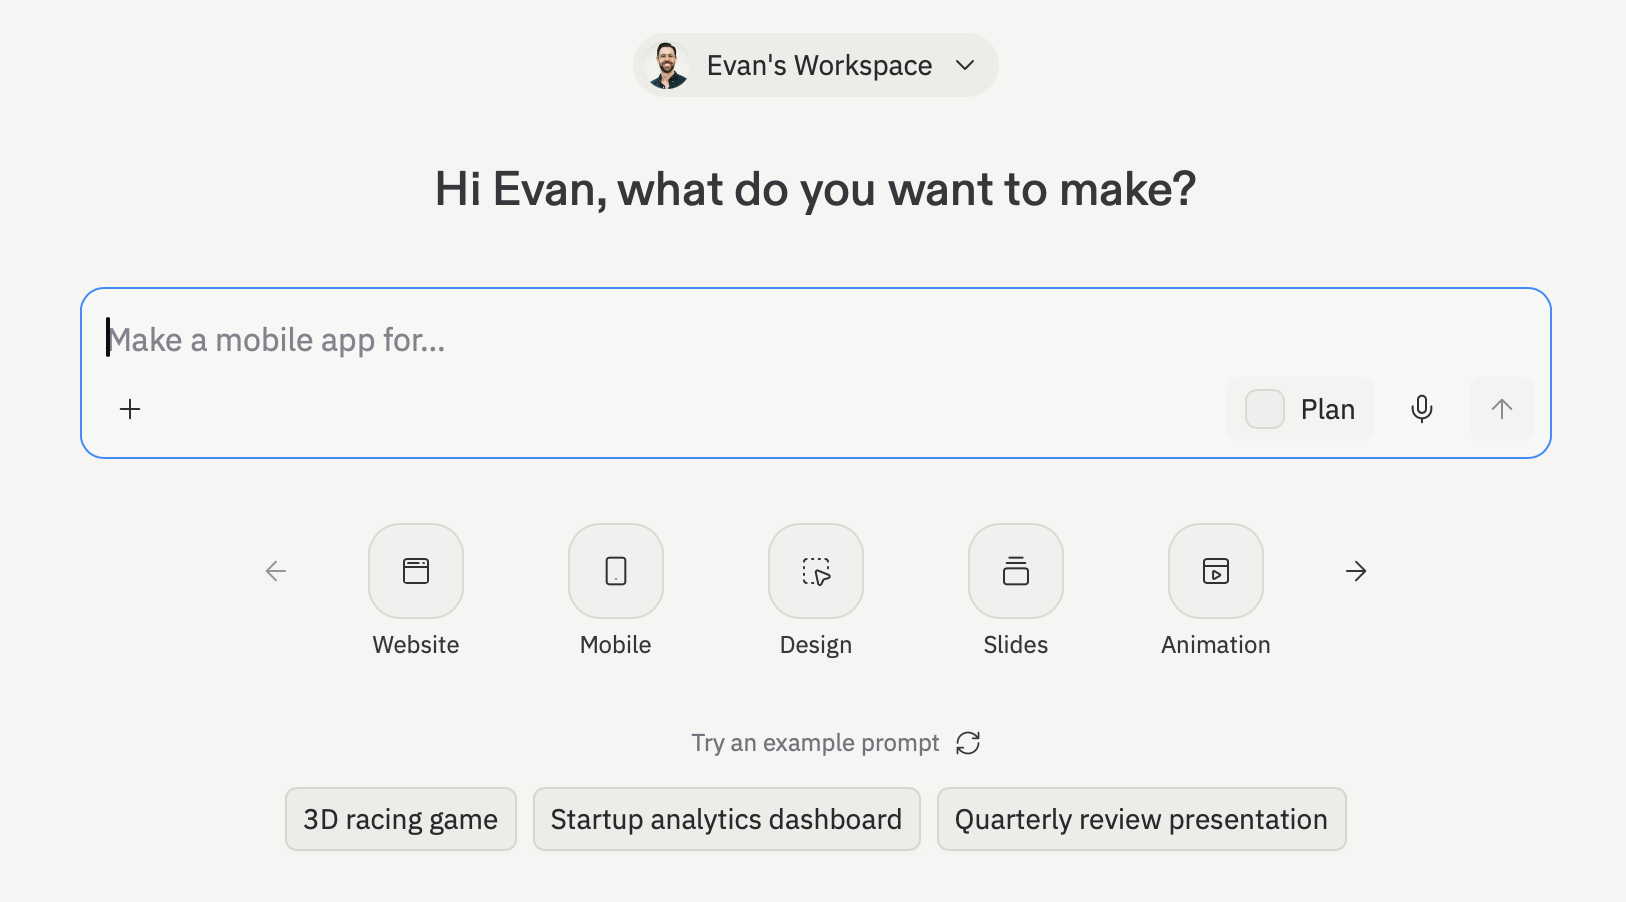
Step 2: Use Replit as Your Designer
Once you kick-off your build with your first PRD, start with Replit instead of Claude Code. This is because Replit is better at designing than Claude Code, and good enough at code that all Claude Code will need to do is clean up the back-end once you’re happy with the design.
Replit has an AI agent built in that can generate front-end code from plain English descriptions. You tell it what you want the app to look like, and it builds the interface.
Focus only on the front-end first. Don’t try to get the app fully functional in Replit. Get the design looking right. Get the user experience dialed in.
I learned this the hard way. When I first started building Flyletter, I tried to do everything inside Replit. I burned through credits faster than I expected and ended up with a tangled mess of code that was hard to debug.
Replit is great at design and prototyping but gets expensive fast when you try to run production workloads on it. Heavy users report spending $100 to $300 per month on top of the $25/month Core plan, with unpredictable cost spikes.
So use Replit for what it’s best at: making your app look and feel right. Treat it as your designer, not your entire engineering department.
Once your front-end is solid, move onto the real engineering.
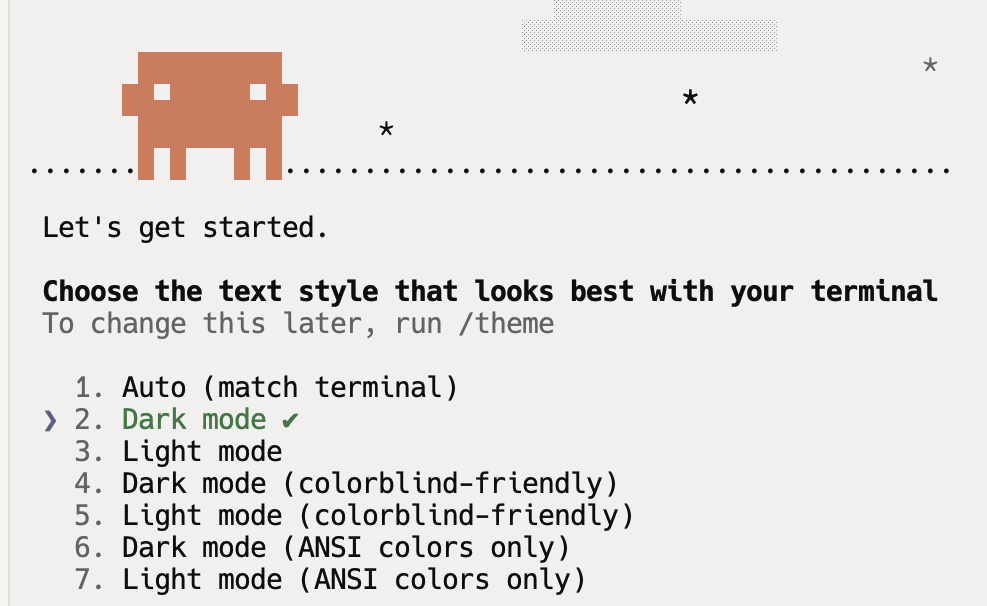
Step 3: Install Claude Code and Let It Engineer
Open the “Shell” tab in Replit. This is basically a terminal, a command line where you can type instructions directly to your development environment. Once the shell is open, you can Install Claude Code right there in Replit and use it as your engineer instead of the Replit agent.
Claude Code lives in your Replit shell and can read, write, and edit your entire codebase. It doesn’t just suggest code snippets. It builds. It understands your project structure, connects to APIs, sets up databases, handles authentication, all the back-end engineering that would normally require an actual developer.
Claude Code requires a paid Anthropic subscription, starting at $20/month for the Pro plan. Compare that to hiring an engineer at $150-300/hour and you start to see why this matters for non-technical founders.
The workflow looks like this:
-
Open the Replit shell
-
Work with Claude on follow up PRDs to improve your app functionality
-
Paste the PRDs into Claude Code running in your Replit shell
-
Review what it produces, ask for changes, iterate
You’re having a conversation with your engineer. “Add user authentication.” “Connect this form to a Postgres database.” “Set up Stripe payments.” Claude Code handles the implementation. You handle the decisions.
This is exactly how I built Flyletter’s core functionality. I’d describe what I needed, Claude Code would build it, I’d test it on Replit, and we’d go back and forth until it worked. Not unlike how you’d work with a human engineer, only less attitude (from the engineer, I give Claude a ton of attitude).
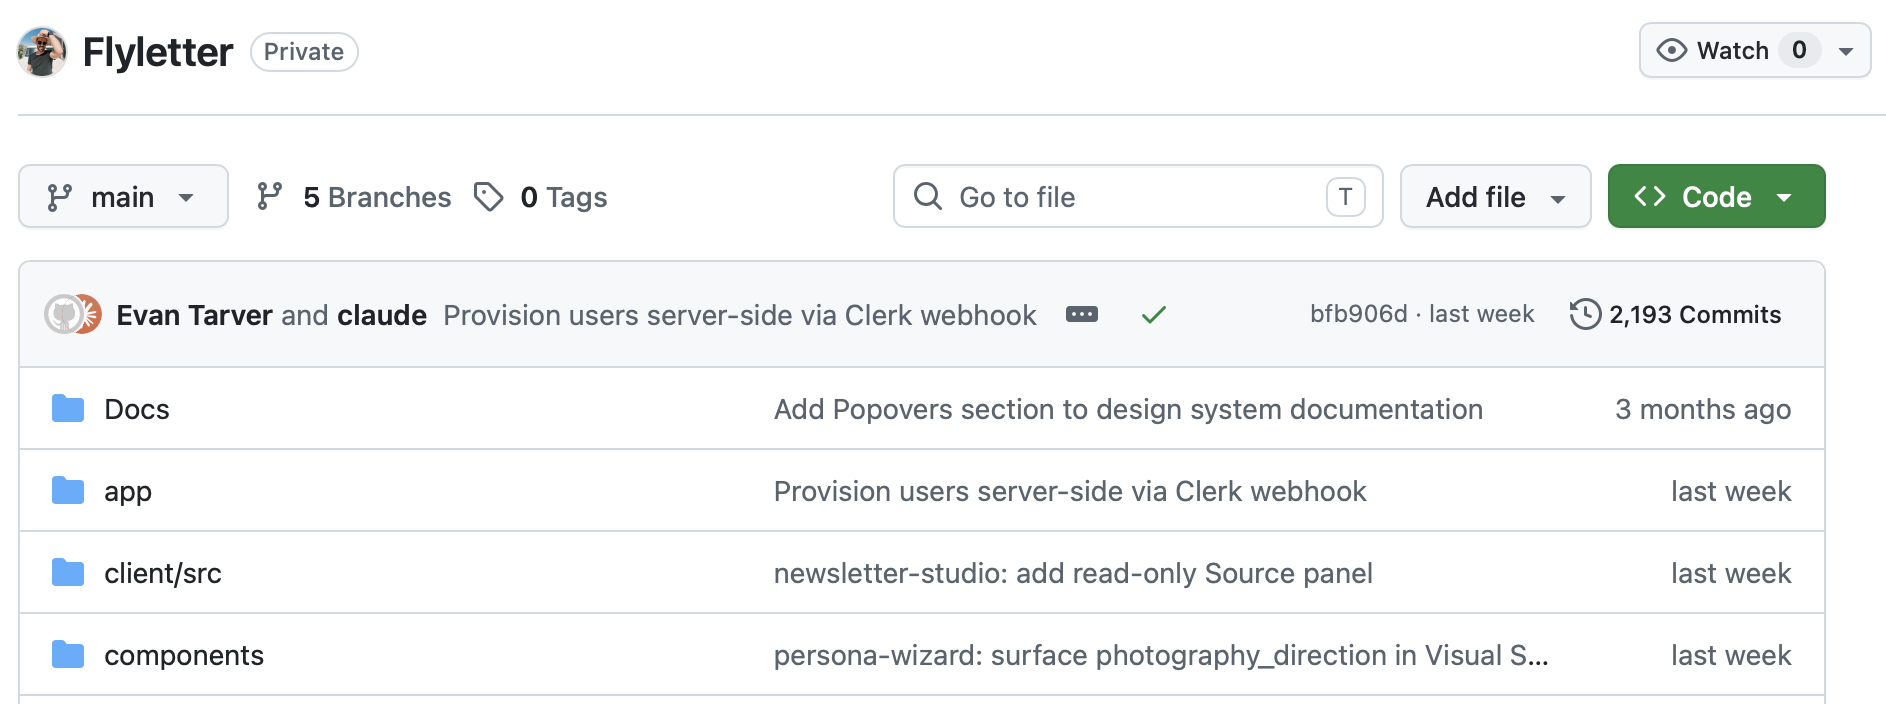
Step 4: Connect Github as Your Code Repository
Okay, so now you’ve got a working app in Replit with a solid front-end and Claude Code handling the engineering. Next you need somewhere to store your code properly.
That’s Github. Think of Github as the code repository for your entire project. Every file, every change, every version, all tracked and stored. This matters for two reasons:
-
Backup. If something breaks (and something will break, trust me), you can roll back to a working version.
-
Deployment. You’ll need your code in Github to deploy it to Railway in the next step.
The setup is straightforward. Create a Github account if you don’t have one (it’s free). Create a new repository, generate a personal access token, and then add the personal access token to your Replit secrets to connect your Replit project to your new repository.
You can literally ask Claude to help you with this part. “Initialize a git repository, connect it to my Github account, and push all project files.” It’ll walk you through generating a personal access token and getting everything connected.
Once your code is in Github, you’re ready for the final step.
Step 5: Deploy to Railway
This is where your app goes from “project in Replit” to “real thing on the internet that people can use.”
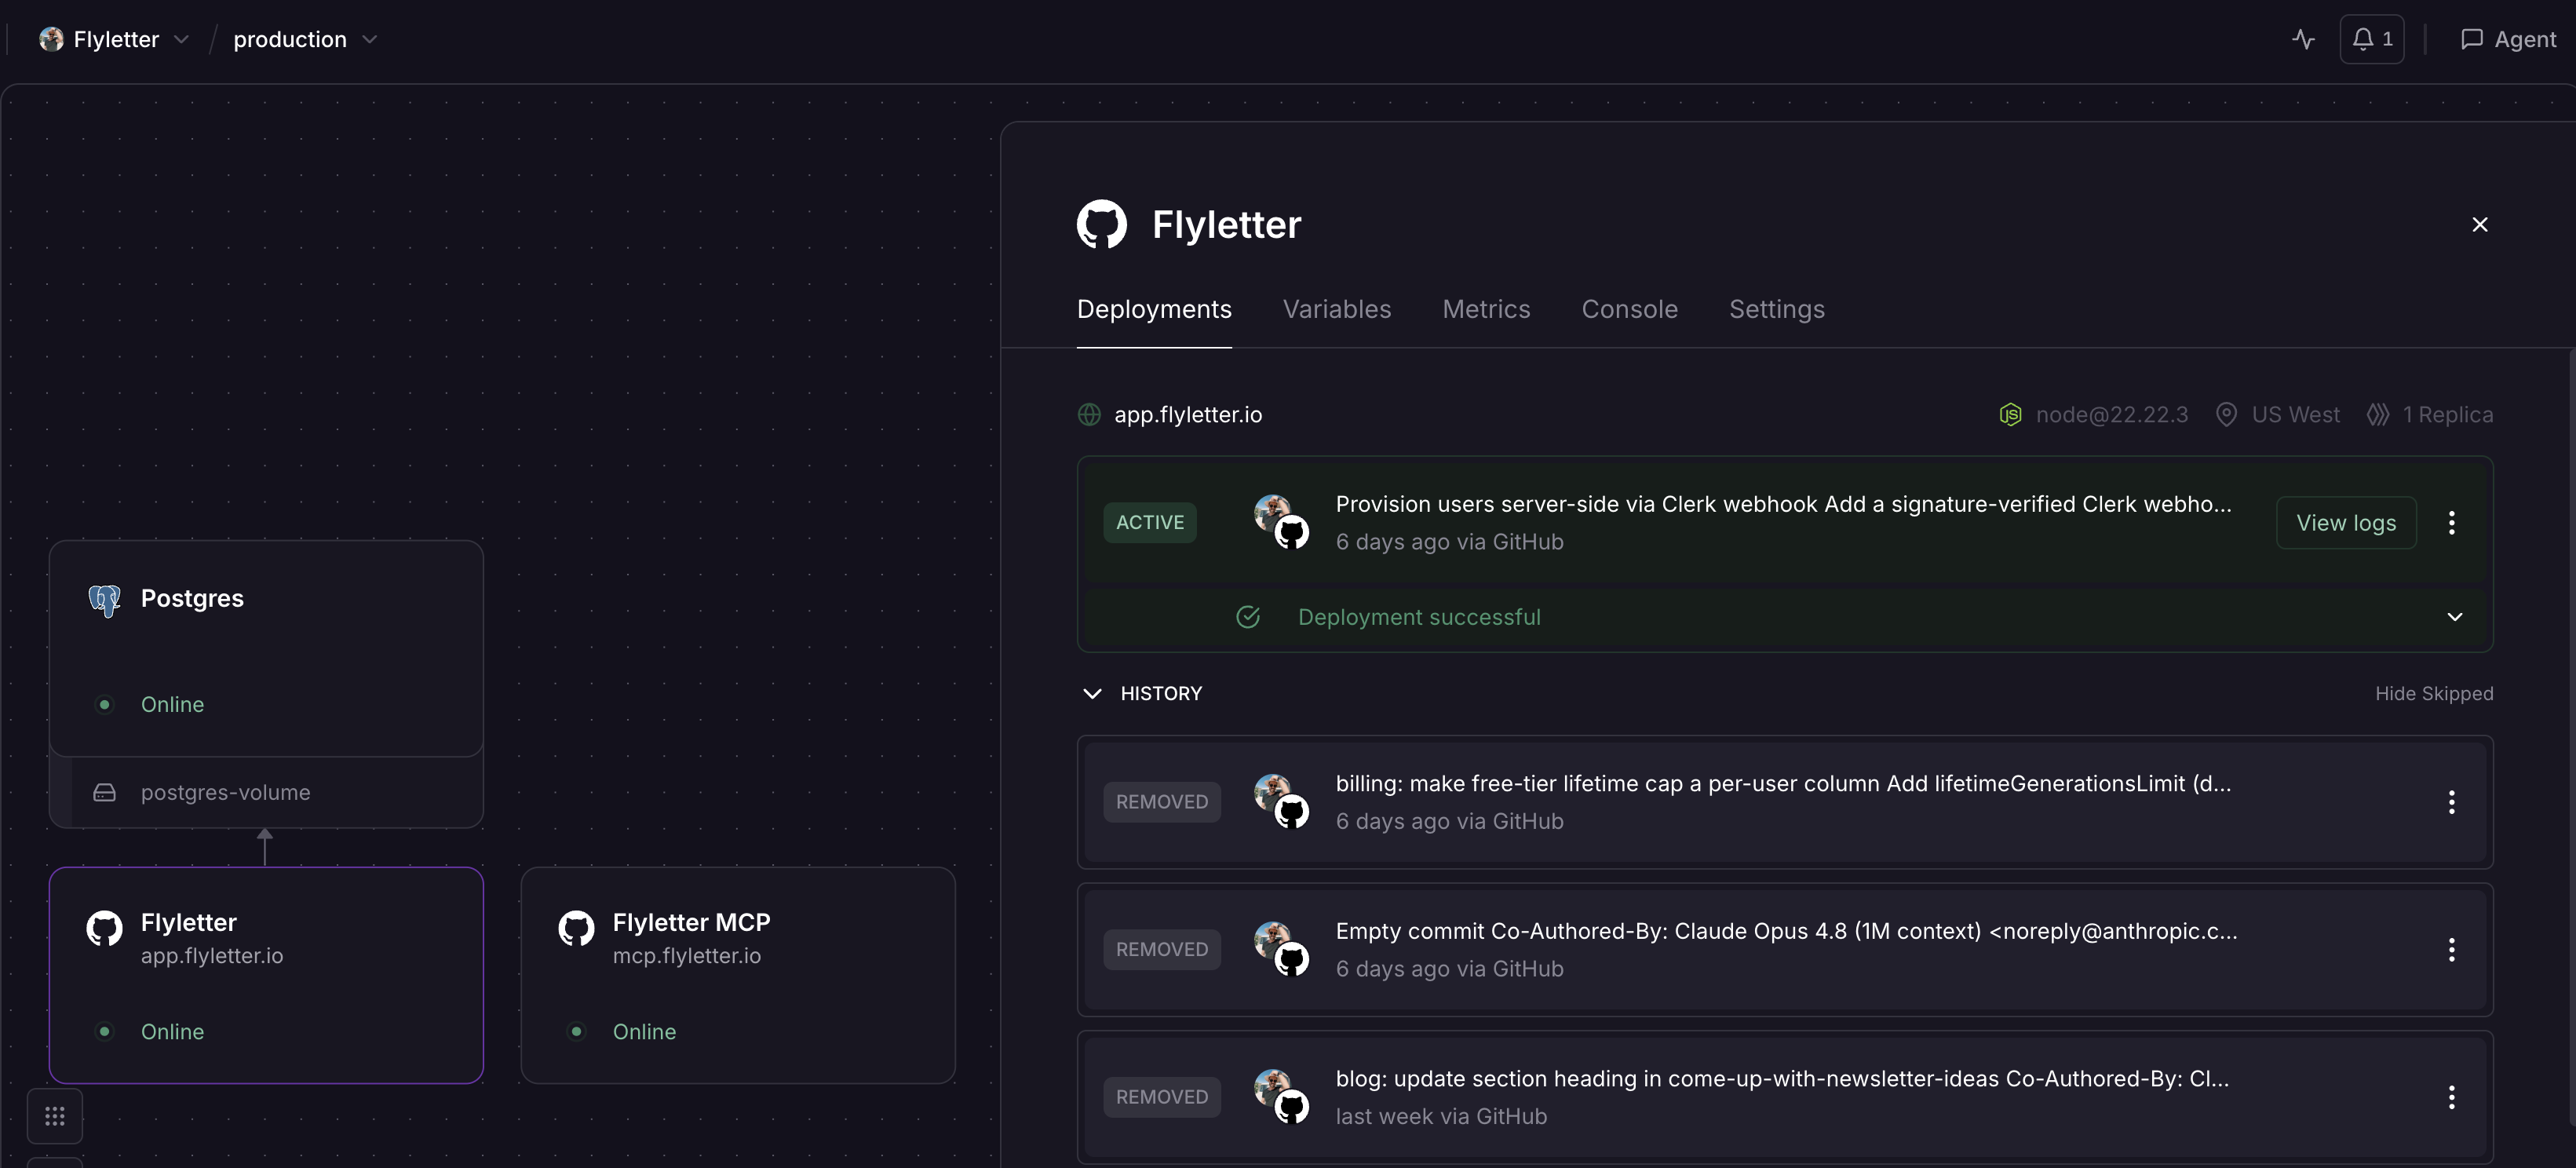
Railway is a hosting platform that takes your code from Github and puts it online. Custom domain, production database, environment variables, the whole setup.
Why Railway instead of just keeping everything in Replit? Cost and reliability. Railway’s Hobby plan runs $5/month plus usage, with $5 of resource credits included. Compare that to the $100-300/month that Replit can cost for production hosting, and the choice is obvious.
The deployment process:
-
Create a Railway account and connect it to your Github repository
-
Add a production database (Railway makes this simple, just click “New” and select Postgres)
-
Set your environment variables (API keys, database URLs, secrets, all the configuration your app needs to run)
-
Connect a custom domain so your app lives at yourdomain.com instead of some random Railway URL (I use Namecheap.com, but Bluehost, Godaddy, etc, also works)
Remember that Claude can walk you through every step of this process better than I can. That’s exactly how I set up Flyletter (I had no clue what a Postgres database was...still kinda don’t).
Railway automatically deploys your app every time you push new code to Github. So your workflow becomes: make changes in Replit with Claude Code, push to Github, Railway deploys automatically. Seamless.
Replit basically becomes your development app where you test new updates, bug fixes, and feature releases. Once you’re happy with the new functionality, push it to Github, where it’s picked up by Railway and updates your production web app (the one users actually access).
This is the exact stack running Flyletter right now. Replit for the dev work, Claude Code for the engineering, Github for version control, Railway for production hosting.
The Full Stack and What It Costs
Let me lay out the numbers for you to drive the point home:
-
Replit Core: $25/month
-
Claude Code Pro: $20/month
-
Github: Free
-
Railway Hobby: $5/month + usage
You’re looking at roughly $50/month to have a full AI development team building a production-ready web app. No hiring. No equity negotiations. No six-month development timelines.
That’s less than most people spend on software subscriptions they don’t even use.
Go Build Something, I Dare You
You now have the exact five-step process and role framework I used to build Flyletter. Product manager, designer, engineer, code repository, hosting. That’s it.
The only thing standing between you and a production-ready app is, well...you.
I showed my brother this process in 20 minutes. He’s already building.
Challenge yourself to build something better than what I’ve shown you. I’d love to see what you create with this process.
Want a next step? Try building a custom Claude MCP connector for your new web app.

Writer, founder, and AI builder. Currently building Flyletter, previously sold Selling Signals (100k subscribers). 1 sold, 2 failed, 1 active. This post started as an issue of my weekly newsletter.